Litho Printed Calendars
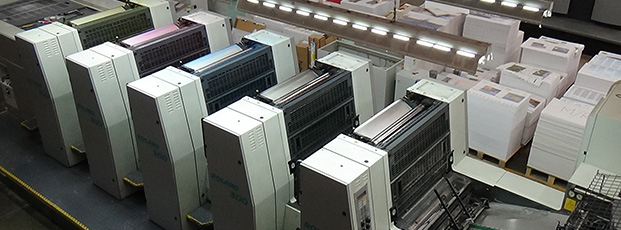
There are a selection of different size and format lithographic printing presses in Rose Calendars' Colchester factory. In addition to printing over 120 titles designed in-house, we also print numerous bespoke calendars. As we both publish and manufacture in one location, this means we can offer both excellent quality printing and flexibility with regard to the level of personalisation required. Here is a brief overview of our litho calendar printing process:
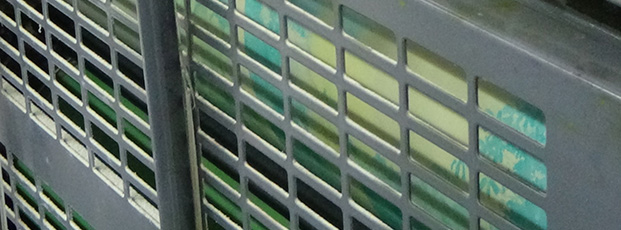
Step 1. Plates
The calendar design is lasered on to an aluminium plate using a device known as an image-setter. This particular litho press has five print units so can print up to 5 colours, which means that for each leaf as many as 5 plates will be produced. One plate is required for each CMYK colour separation (Cyan, Magenta, Yellow, and Black). An extra plate can be used to create a particularly rich black or perhaps add a special Pantone colour outside of the colour gamut of the standard CMYK.
Step 2. Make Ready
A skilled machine operator prepares the press for the print job. This process takes around 30 minutes and involves filling of the ink ducts, loading paper, and setting up the plates. This is called a ‘make ready’. During the print run, a print minder will make regular quality checks on the press, adjusting ink balances as appropriate to match specific ink densities.

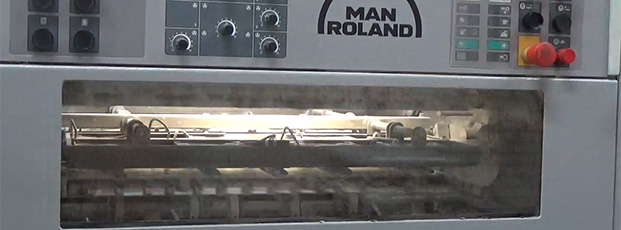
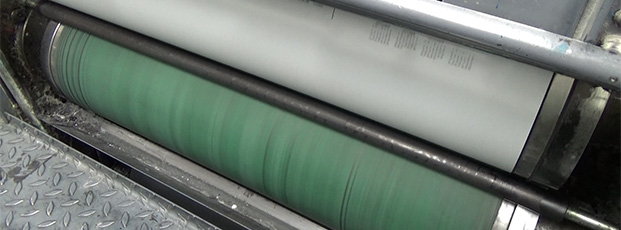
Step 3. Cylinders
As the machine is started up, paper is fed by the feeder and kept in position by lays on a feeder board. There are three cylinders on each colour unit – a plate cylinder, a blanket cylinder, and an impression cylinder. The cylinders rotate, taking the plate first past the dampening rollers where water is applied, then past the ink rollers. Litho printing is based on the principle that some substances attract water (hydrophilic) and others repel water (hydrophobic). As ink and water don’t mix, ink is only applied to the dry areas on the plate.
Step 4. Offset
After the plate has passed the ink rollers, the plate cylinder continues to rotate and under pressure the image is transferred (offset) to the blanket cylinder. At this point the image appears reversed.
Step 5. Impression
The blanket cylinder turns in the opposite direction and prints the image the correct way around onto a sheet of paper under pressure between the blanket and impression cylinders.
Step 6. Transfer
Sheet transfer cylinders move the printed sheet onto the next print unit where the process is repeated with a different colour where multicolour printing is required.
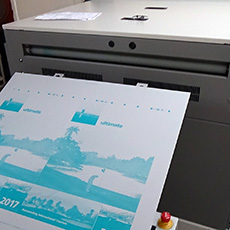
Step 7. Delivery
Printed sheets are finally sprayed with a fine powder to prevent setting off (this is where part of the wet image could be transferred onto the back of the leaf above), the sheets stack in the delivery pile at the end of the press. After a short time, the freshly printed calendar leaves are sufficiently dry to be removed for trimming, quality checking and reverse collating for future overprinting with customers’ adverts.